Wisconsin Union Coasters
A little fun celebrating my family's heritage
Background
Although a simple, this is one of my favorite projects. It is reliably one of the items most commented on by my friends and family. A large part of this is because both sides of my family actually have roots in Wisconsin, although my parents met on the west coast.
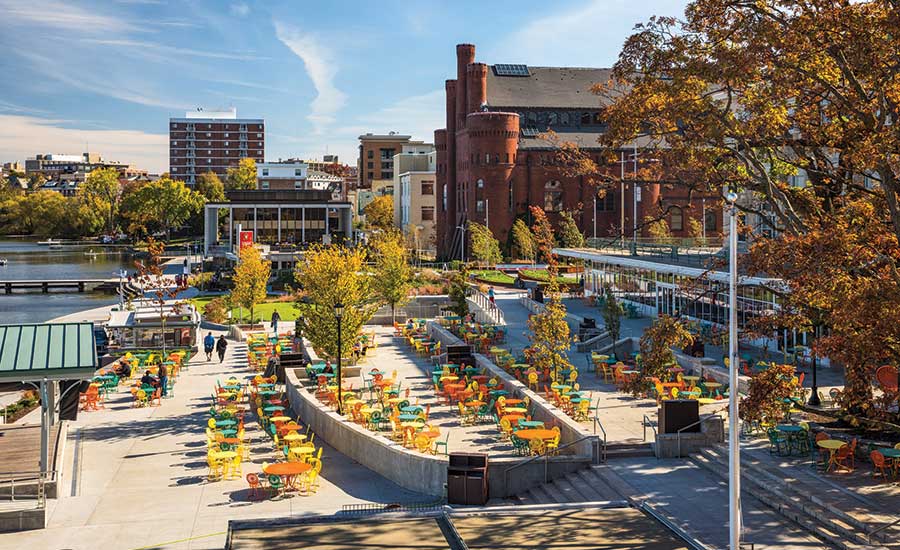
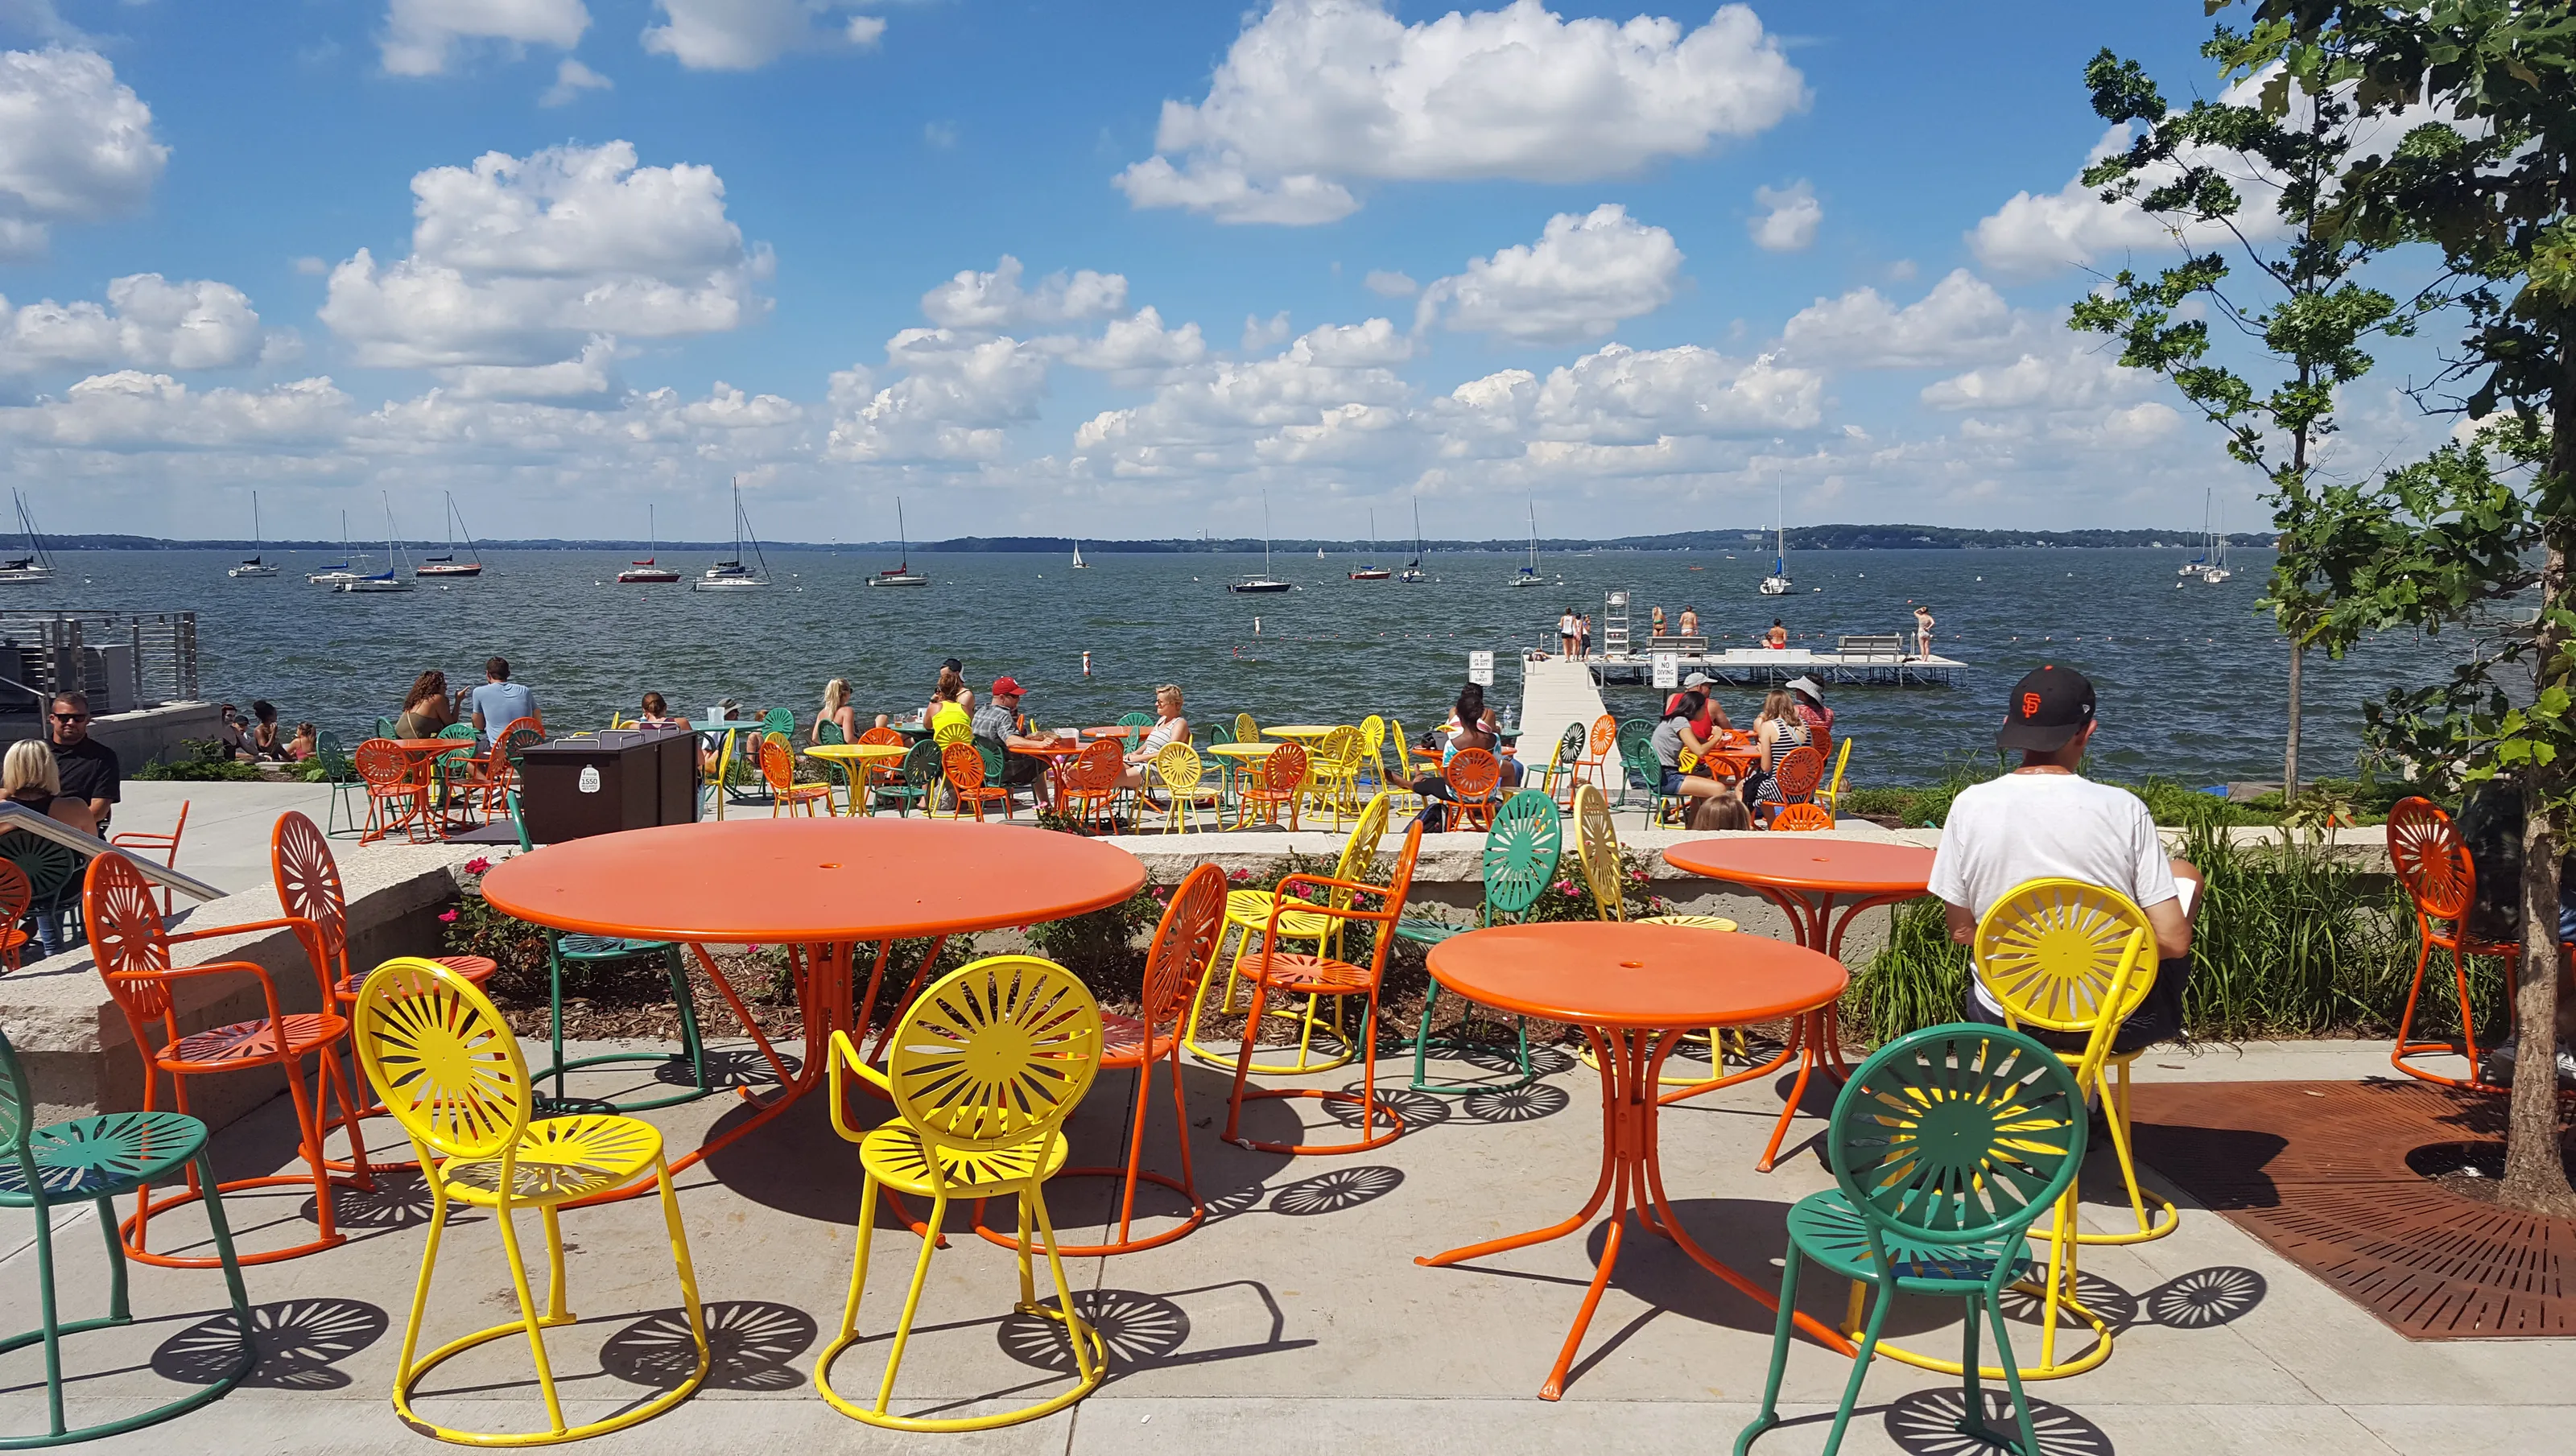
At the University of Wisconsin, there is a spot on lake Mendota called “the union terrace”, where students have gathered for decades to drink pitchers of beer and eat Babcock ice cream by the water. A lot of my family went to UW Madison, so this place holds a special place for us. I have been going to the union since I was a baby on our annual summer trips back to WI to see family.


On the union terrace, there are these distinctive metal chairs gathered around tables for visitors. If you have ever been to the terrace you will know them. They are the union chairs, wholly recognizable and distinct to this place. As such, they have become a defacto symbol for the terrace, and by extension all of the great times and memories had there. I didn’t even go to school at Wisconsin and I am sentimental for them. They really are wonderful.
Design
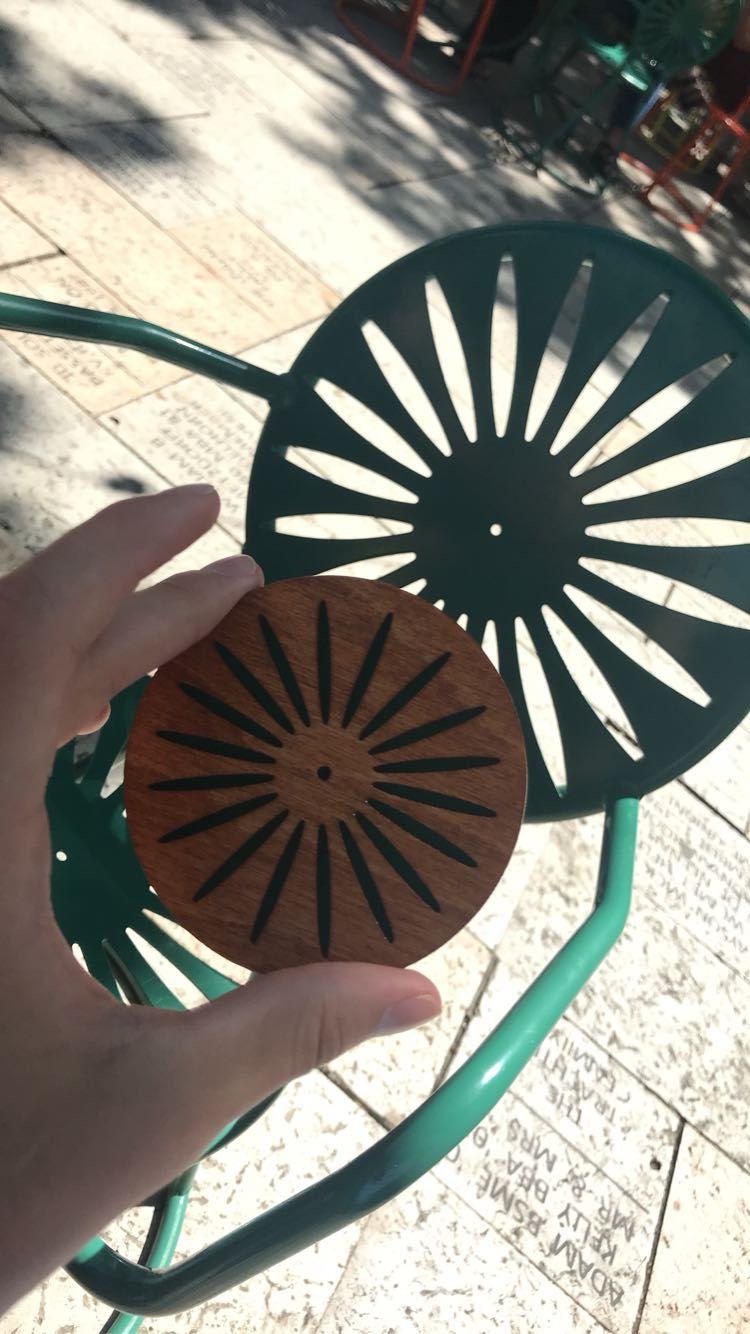
These were first designed right before I began working at Texas Inventionworks during the summer after my 4th year at UT Austin. I was doing a summer study abroad in Denmark with my girlfriend Barna. I told her that I wanted to make some coasters for my family to celebrate their Wisconsin backgrounds. Her and I devised the sandwich design, with the felt inserts to match the colors of the chairs.
The design was very straightforward. Each coaster would be composed of three layers of 1/8th inch plywood. The bottom layer would be a simple circle. The middle layer would be a ring, with the outer diameter matching that of the top and bottom layers. A hole would be cut in the center to accomodate the colored felt insert. Finally, the top layer would be in the pattern of the union chairs, with holes cut such that the colored felt sandwiched in the middle would show.
Fabrication
Cutting
There was a lot of discovery while I made these coasters. Although I had used the Spectrum lasers before, this was my first project using only vector cuts.
Assembly
Now that we had all of our parts cut, we moved on to prepping the wood. After the first batch, this became a quite ordered assembly.
- Run some sandpaper over both sides of each piece, making sure to remove any splinters and rough spots.
- Lay out all of the top and bottom sheets on two thick sheets of butcher paper, setting the center rings to the side.
- Stain only the top of the top pieces and bottom of the bottom, so that the sides that would get glued remained unstained. Wait to dry.
- Sand the stained pieces and stain them again.
- Glue the base and middle pieces with wood glue. Gorilla glue the felt into its space in the center. Wait to dry.
- Glue the tops on. Dry again.
- Sand the edges of each costers such that they were smooth.
- Stain the exterior and edge once more, careful to not drip into the felt.
- Glue on felt bottoms. Make sure the colors match.
Really not a complicated process. Mostly relaxing, if you like woodworking.


Learnings
Conclusion

